My latest addition to the yard is a Hoya. I got to know about this plant only recently through my dad, who has a big one in in garden. I thought the flowers were fascinating, wax like with a pretty pink color. Last weekend I got a cutting from him and decided I will add it to the rest in my yard. My dad was very generous with his cutting and I got a plant which was already over a meter long in some places.
Hoya Basics:
The Hoya originates from the tropical forests in Asia. It's habitat is humid and moist, and it can survive for long periods in rain or drought. The plant is a climber, weaving it's stems around branches of trees as it grows, and makes its way up. I have seen mixed reports on its growth, depending on the variety, it can grow from 4 feet up to 20 feet. Let's just say, it's not a small plant!
At home, the Hoya prefers indirect sunlight, since it's natural habitat is normally filtered light through the forest canopy. It could tolerate shade, but perhaps won't bloom as much. The Hoya can be grown as a houseplant, placed indoors behind a window with filtered light. Outside, it can be grown in hanging containers, allowing the stems to hang down, or else as a climber against a trellis.
The plant is pretty low maintenance when it comes to watering and re-potting. Starting the plant in a container of potting mix is the best idea as it likes rich soil with very good drainage. The compost can be left to dry a bit between each watering. The plant enjoys being root bound, and will produce more blooms this way, so unless it is absolutely necessary, the plant won't need re-potting.
The plant is pretty low maintenance when it comes to watering and re-potting. Starting the plant in a container of potting mix is the best idea as it likes rich soil with very good drainage. The compost can be left to dry a bit between each watering. The plant enjoys being root bound, and will produce more blooms this way, so unless it is absolutely necessary, the plant won't need re-potting.
The variety I have is called M.Carnosa and has pale pink flowers with a magenta corona. The plant flowers in Summer and the flowers do not need to be removed once dead, the plant will drop them when ready and can produce more flowers from the same stalk. I have read that moving a plant that has flowers will drop them when placed in the new location. This hasn't happened to me yet, but you never know.
 |
| My Hoya Plant |
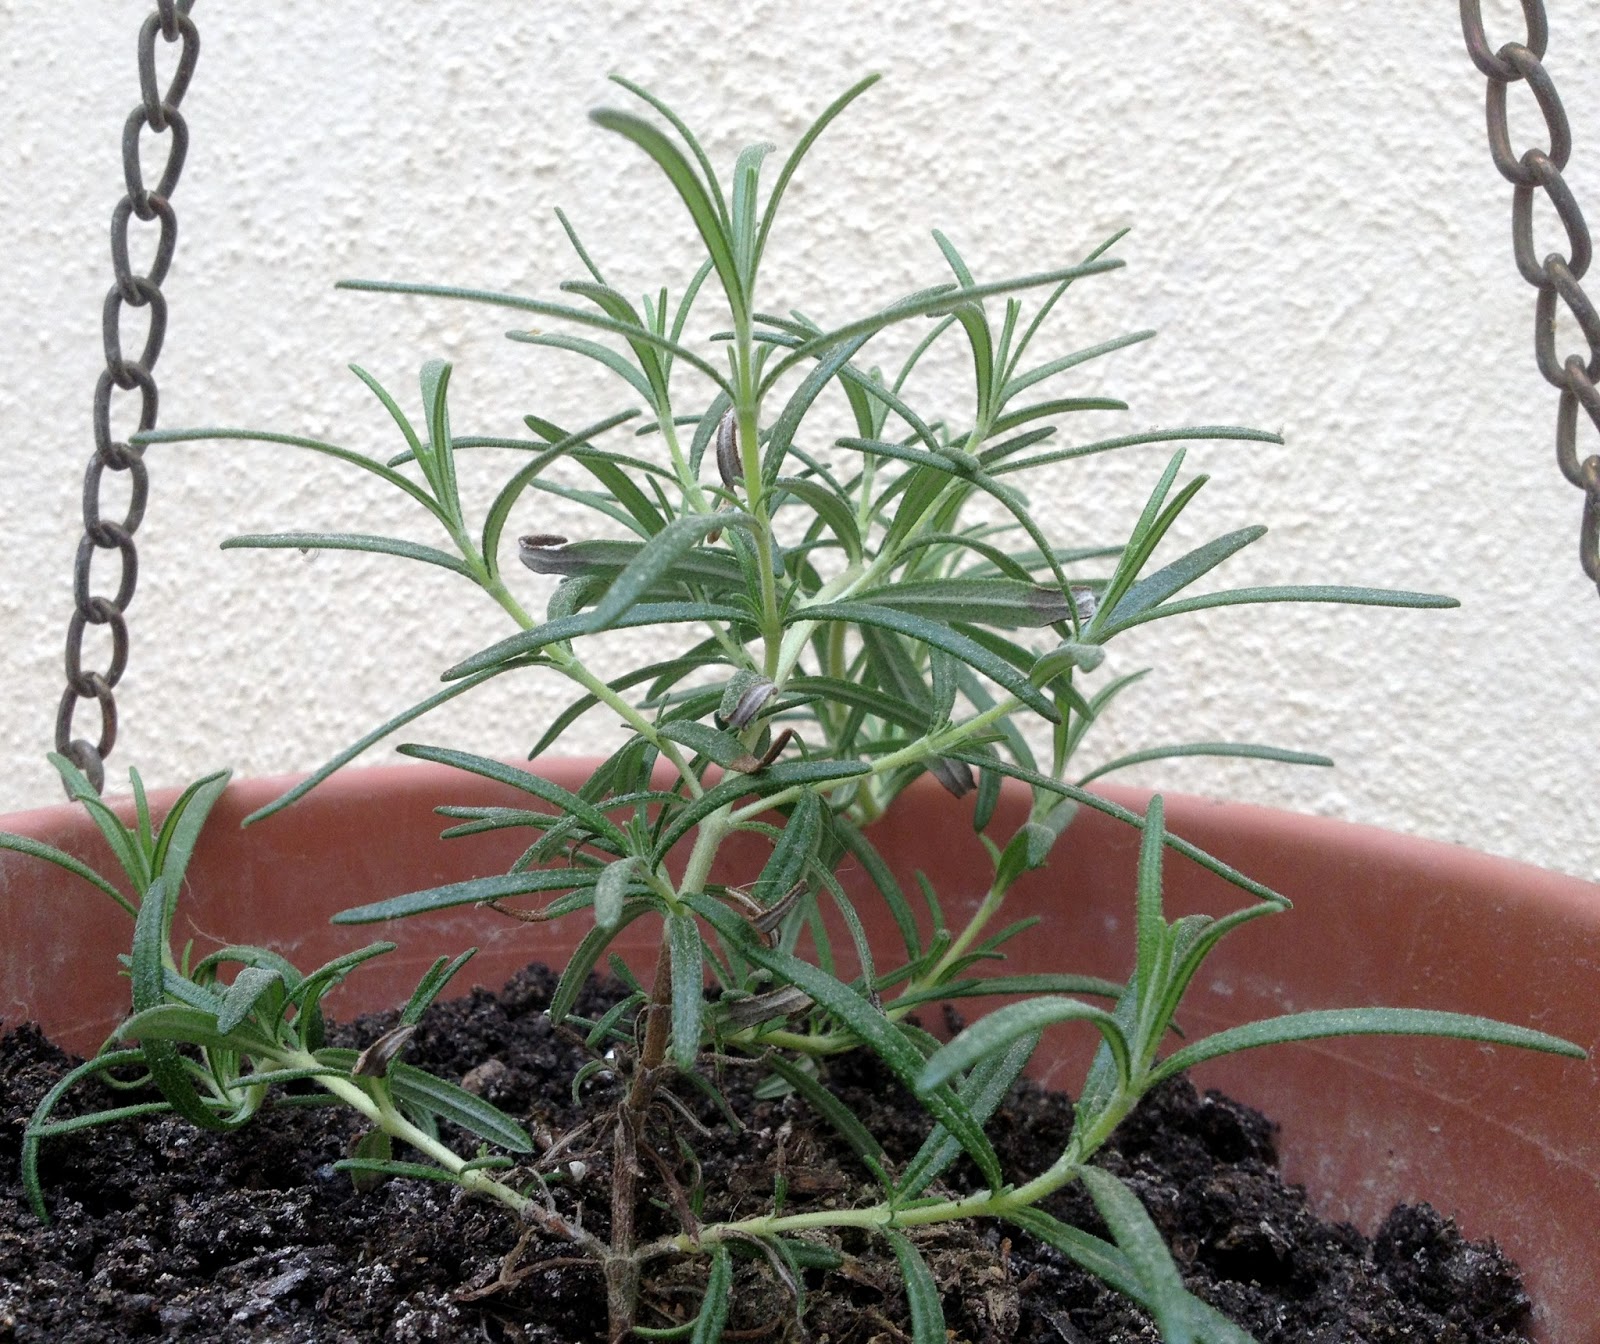
Back to My Plant:
The plant I have was propagated from a bigger plant which is already over 2 meters long (6 feet) in some places. It was placed in full sun, and all the leaves are yellowish, and burnt in places. I am hoping that my yard will be a better place for the Hoya, and the leaves will be replaced with green ones.
 |
| Hoya hanging on the wall |
The Hoya was planted in soil, just as the original plant was, and I think the container is a little too big for it. I have, however, decided not to move it for the time being. The plant should be flowering by now, and I don't want to disturb it too much. If the container (an old pail) is is too big, or the soil is not rich enough, then I will re-pot it in another container with potting mix sometime towards the end of summer, or early winter. I should be able to tell all this by the amount and quality of flowers that are produced, but since this is my first time with Hoyas, I will probably leave it there a couple of years, unless it is looking really bad.
For the time being, I have decided to hang it against the wall, until I can figure out what to do with it. I am still not sure if the place I chose for it is good enough. It does get some morning sun, maybe a couple of hours. It is very close to the passion flower though, so I will give it some time to settle down, and they make a decision.
 |
| Hoya Fowers |
I have just two bunches of flowers, which, as you can see from the above picture, did not take the move all that well. They are still hanging in there though. It's another reason why I don't want to disturb it that much, I want to see it bloom so I can see those lovely flowers.
I am sure that after a few months in my yard it will look great. I am tempted to buy a pole/large branch for it to climb. Wouldn't that be a nice feature ?
 |
Hoya
|